I've been in a slump for quite a while and have trouble thinking of different things to make for dinner. Ever get that way? I even try to plan my meals around what is currently on sale at the grocoery store. That only helps some of the time.
So, I came across this recipe on Pinterest. Just about anything Italian catches my eye so I noticed this recipe. Pasta and mushrooms. Sounded pretty good and claimed to be quick and easy. I gave it a try.
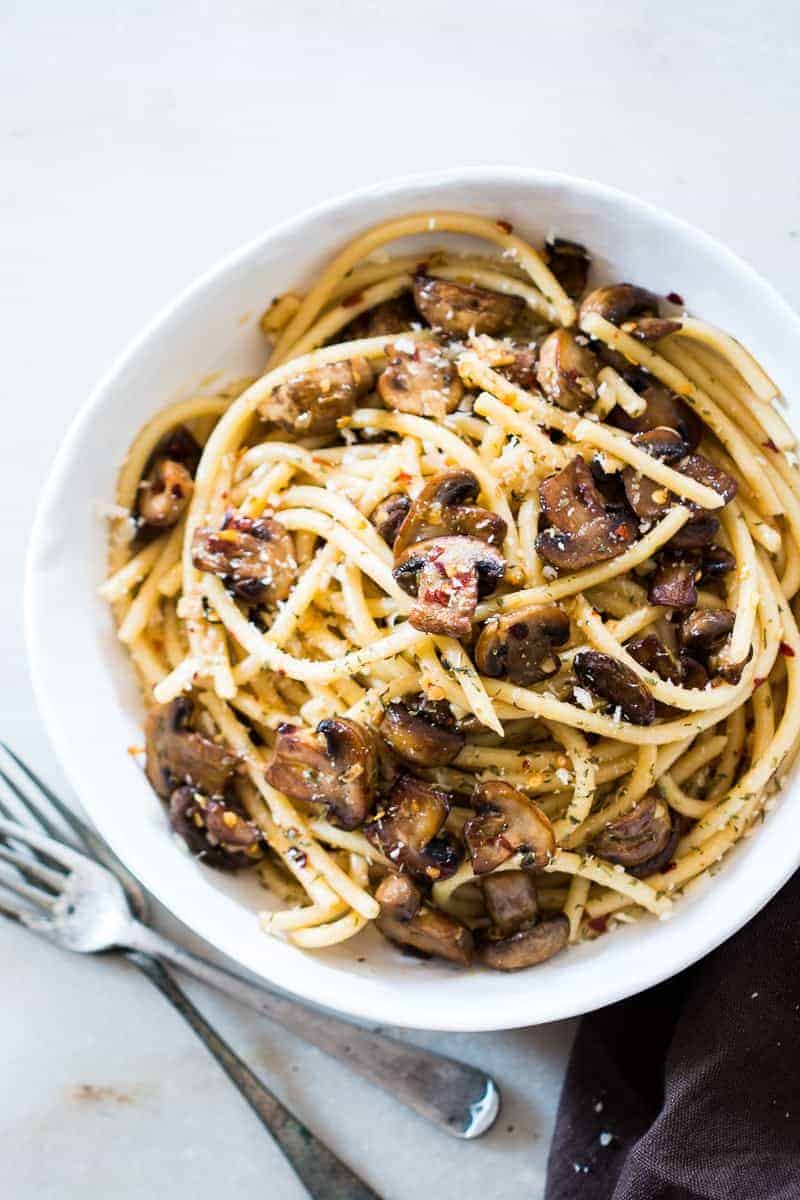
Mushroom Spaghetti Aglio Olio
8 oz Spaghetti
1 + 1 tablespoon Olive Oil
8 oz mushrooms cleaned and sliced
1/2 teaspoon chili flakes
1 1/2 teaspoons parsley, dried
1 teaspoon butter
2 - 3 tablespoon parmesan cheese
salt, to taste
Boil the spaghetti in salted, water per directions on the package.
While the spaghetti is boiling, heat a tablespoon of olive oil in a pan and add mushrooms. Saute on medium high heat for a few minutes till golden brown on all sides.
Push the mushrooms to one side of the pan and add the remaining olive oil, garlic and chilli flakes. Saute for about a minute, making sure not to burn the garlic and add spaghetti, butter, parsley and salt. Toss well till the herbs coat the spaghetti and the butter has melted. Serve hot with some crusty bread and a salad.
This is the original recipe found on My Food Story.
As usual, I changed a few things. The recipe was in grams, not ounces, so I just googled the conversions to get the rough measurements.
I'm Italian so I add garlic in almost everything I make. This wasn't an exception. I added some while cooking the mushrooms.
Also, I figured my husband would want some meat added, so I chose to add some beef. It happened to be on sale otherwise I would have chosen chicken. The beef was cut into bite size pieces and cooked in a fry pan. When the beef was almost fully cooked, I added the mushrooms and followed the rest of the recipe.
It must have turned out ok because my husband said to make it again.
Until next time...Stampin' Always,
Cheryl, HomeStyle Stamper


