Tasty Thursday - Beef Barley Soup

It's getting to be Sweater Weather here.  For us, that also means soup or stew season. 

I came across this recipe and we made it that night.  Amazing.  Usually it takes a while to make a recipe that I find.  But Chris had mentioned having soup for dinner.  We also can't buy soup in a can.  They just aren't as good as homemade.  My family is spoiled.  

Beef barley is a good hearty soup and it great when it's gold and snowy outside. Chris had found a recipe that called for soy sauce.  That one kind of seemed off kilter for me.  I wanted a good classic recipe and found this one.

Beef Barley Soup

1 pound stewing beef

1 teaspoon salt or to taste

1 teaspoon pepper or to taste

½ cup all-purpose flour

2 tablespoon olive oil or more if needed

1 large onion chopped

1 large carrot peeled and chopped

2 stalks celery cleaned and chopped

3 cloves garlic minced

1 tablespoon oregano fresh, chopped (or 1 tsp dried oregano)

3 tablespoon tomato paste

4 cups beef broth low sodium

3 cups water

¾ cup barley I used pearl barley, see notes

1 tablespoon parsley fresh, chopped

Prep the Beef: Season the stewing beef generously with salt and pepper. Place the beef in a ziploc bag and add the flour over the beef. Close the ziploc bag and shake until each piece of beef is fully covered in flour. You can also do this in a bowl.

Sear the Beef: Heat the olive oil in a Dutch oven over medium-high heat. Add the beef to the pot and cook just until the meat starts to brown about 3 minutes per side. You will have to do this in 2 or 3 batches, since you do not want to crowd the meat. Remove the meat from the pot after you're done and set aside.

Cook the Mirepoix: In the same pot, you will have a lot of brown bits on the bottom. Add more olive oil if needed, then add the chopped onion, carrots and celery. Cook the vegetables until soft, about 5 minutes, stirring occasionally.

Season and Cook the Beef: Add the garlic, oregano and tomato paste to the pot and stir. Cook for 30 seconds until aromatic. Add a bit of the beef broth to the pot to deglaze all the brown bits at the bottom. Add the meat back to the pot, then the beef broth and water and season with salt and pepper. Bring to a boil, then turn down the heat to a medium, cover the pot and cook for about 30 to 45 minutes, stirring occasionally. You want to cook this for so long so that the beef becomes tender, it will melt in your mouth.

Add Barley and Cook: Add the barley to the pot, cover it and cook for another 30 minutes or until the barley is cooked through. Make sure you stir occasionally so the barley won't stick. If you find that the soup is too thick add more water as necessary until you get the desired consistency, though this is quite a thick soup.

Finish and Serve: Remove the soup from heat and garnish with fresh parsley before serving.

I would definately add more pepper.  It lacked that, and maybe mix the low sodium broth with regular.  I never say that, but it needed just a little bit more flavor and both of those definately helped.  

If you have leftovers,  you may need to add more beef broth or water. The next day, it was really thick, more of a stew consistency than soup.  

You can see the original recipe here... jocooks.com

This soup really hit the spot for both of us.

Until next time...Stampin' Always,

Cheryl, HomeStyle Stamper

Spruced Up with Evening Evergreen

This was my Thank You card for my club people last month.  

It's hard to tell, but the card base if Evening Evergreen.  I always have a hard time getting that color to come through on my pictures.  It always looks black, or at least to me it does.  

These Spruced Up stamp set and dies are fun to play with.  The key tip to remember is to use the adhesive sheets.  They are especially necessary if you plan to adhere the outside frame to the card.  The sheets are fabulous and make life so much easier.

The Very Vanilla is embossed with the Whimsical Woodland folder.  It's the first time using it, andI can say that I love it!  The trees are so whimsical, as the name, and that makes it perfect with the Spruced Up stamps. 

Now you can see a close up of the details.  The Stitched circle is adhered by dimensionals. The "Merry" is adhered by dimensionals on the right side, but directly onto the circle.  I hate to go too high for mailing purposes.

Of course, I had to add just a little bling.  The rhinestones and Simply Elegant trim works.

Click on the above picture for dimensions and instructions.

Until next time...Stampin' Always,

Cheryl, HomeStyle Stamper 

Product List


A Golden Strip Christmas Card

Did you grab the 6x6 Gold and Silver DSP paper from the last Sale-a-Bration?  I was glad to have grabbed one before they were sold out.  

I chose one of the gold patterns.  Gold and a Christmas tree.  Can't go wrong!

The tree is from the Christmas Lights bundle.  The die set has two dies for the tree.  One for the tree and all it's details.  The other die cuts out the entire tree.  Until it was brought up to me, I didn't even consider cutting them out at the same time.  Mind blowing idea!!!

Under the Evening Evergreen is a cut tree piece of gold foil.  Just another pop of gold.  The top tree is added with dimensionals so you can actually see the gold underneath.  It's the same foil that is above the DSP.  

To add more gold, you can see the Gold and Vanilla Satin Edge Ribbon.  The sentiment is Soft Succulent.  I did think about using the gold embossing powder, but I didn't want to go too over the board with the gold.  Three touches of gold was enough.

Look,  No Gold!  But I was excited to use the garland tinsel.  I wasn't sure how to use it on the front, but it works on the inside.  And I could have done it in gold too.

Click on the above picture for dimensions and instructions.

Until next time...Stampin' Always,

Cheryl, HomeStyle Stamper

Product List


Vintage Christmas Bottle

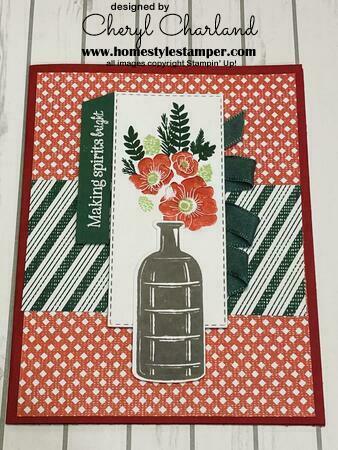
Vintage Christmas stamp set.  I haven't seen it used a whole lot this season.  Obviously, I like it since I purchased it!  

Do you recognize the DSP?  It's the sweetest Christmas DSP, the paper with the candy canes and stripes on it.  I think they look great together.  You wouldn't know they weren't bundled together.  

I was getting bored with just using ribbon to tie bows.  Instead, I tried to zig zag it.  I put Tear & Tape on the back side of the rectangle and just adhered the ribbon in the zig zag formation.  It was repositioned several times before I liked how it looked.  Using the Tear & Tape made it super easy.  Then, I adhered the entire rectangle to the card using dimensionals.  

For the bottle, I adhered it direcitly to the rectangle.  But I didn't want the bottom to bend, so I added a dimensional right there.  Can't have a bent bottom!

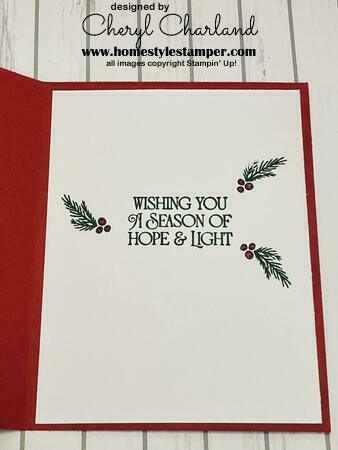
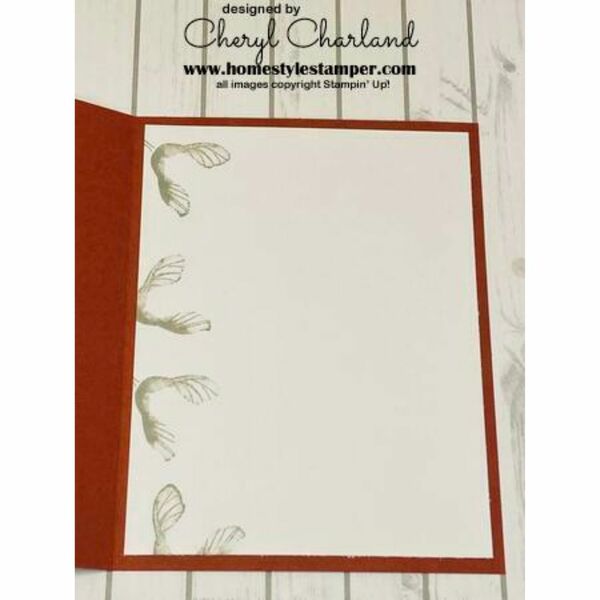
And as always, don't forget the inside.  I love these leaves and berries for the inside.  The inside always needs just a little something and these are perfect.

Click on the above picture for dimensins and instructions.

Until next time...Stampin' Always,

Cheryl, HomeStyle Stamper

Product List


Starry Sky Sympathy Card

One of my club members requested that I make a sympathy card.  No problem.  

I believe they really like what I came up with.  Just because it's a sympathy card, doesn't mean it has to be bland.  

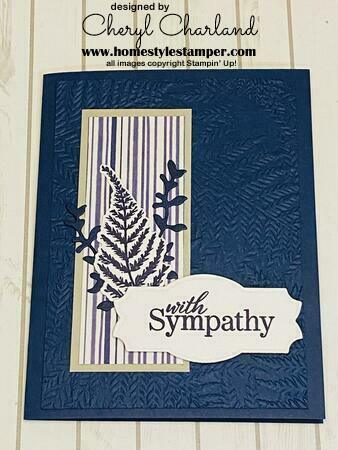
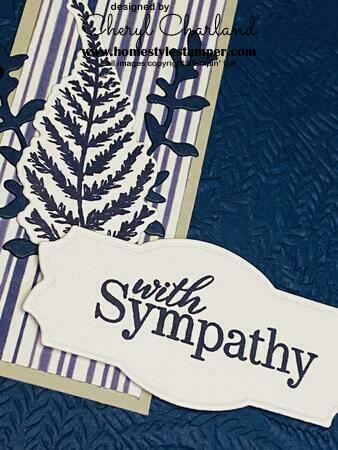
Out came the Nature's Print stamp set.  It's practically perfect for any occasion.  The sentiment was a little more difficult.  I didn't have any current stamp sets that contained a sympathy sentiment, so I grabbed the Special Moments set.  It was from a past SAB.  I'm so very glad that I didn't get rid of it!

The fern leaf was stamped and cut out with the coordinating die. But the fern wasn't enough.  The other two sprigs are cut out from the Night of Navy cardstock.  It was exactly the nice accent to go with the fern.  

I believe this was the first time I used the Fern 3D embossing folder.  That's a shame on my part.  It makes a gorgeous background.  I'll make sure to use it again soon.  

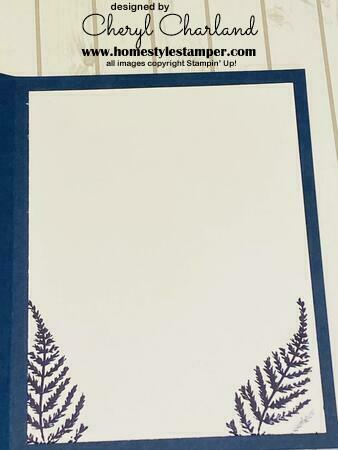
The inside was kept super simple.  No sentiment because I wanted to leave room for a personal note.  

Click on the above picture for dimensions and instructions.

Until next time...Stampin' Always,

Cheryl, HomeStyle Stamper


Product List


Tri-Colored Soft Seedling

I can't believe that it is snowing outside!  My husband said the roads were terrible driving home tonight.  The cold doesn't bother me, I'm just not physically, and mentally, ready for snow.  Guess that is what happens when you live in Wisconsin.

Do you like this Soft seedling stamp set?  Might want to grab it while you can. I'll give you a heads up...it will be on the Retirement List coming out soon. 

After stamping the three different color leaves, I felt the Basic White background was just a little too...plain.  I tried something I haven't done in years.  I rolled it into a ball and then flattened it out again.  It doesn't show up well in this picture, but it gives the background a nice texture.  My club people even made comments they have forgotton about doing this, it's been that long.  

The copper accents just worked perfectly with this color tones.  I used copper three ways - copper foil paper along the Basic White, the Open Leaf Trinket,  and the copper embossed sentiment.  All three very close to each other on this card, but it worked out well.  Sometimes it's better than the bling.

My card inside was kept simple.  I've done this inside before on other cards.  

Click on the above picture for dimensions and instructions.

Until next time...Stampin' Always,

Cheryl, HomeStyle Stamper

Product List


New Kit is coming!

A new kit will be available starting Nov. 15!  This kit has really caught my eye. My family loves to travel, so anything with the world or a globe always catches my eye.   Take a look at what's included.

DEMO_PRD_IMG_1_EN_1122_TIMELESS_GREETINGS_KITDEMO_PRD_IMG_3_EN_1122_TIMELESS_GREETINGS_KIT

  • Kit contains enough supplies to create 8 cards—4 each of 2 designs—and 8 coordinating envelopes.
  • Includes printed card bases, printed die cuts, adhesive, embellishments, and a clear block.
  • Available in English and French
  • Finished card size: 5-1/2" x 4-1/4" (14 x 10.8 cm)
  • Coordinating colors: Basic Black, Basic Gray, Cajun Craze, Crumb Cake, Evening Evergreen, Soft Suede.

This goes live on November 15, the same day the Seasonal Sale starts.  Might want to add this to your Wish List.  For $21, you get all supplies to make 8 cards, including the stamp set and embellishments.  Talk about a great deal!  I also love the colors they include in this kit.  Very soothing.

Is your Wish List getting longer?  Mine is!

Until next time...Stampin' Always,

Cheryl, HomeStyle Stamper


Are you ready for a SALE?

Seasonal Sale

Who isn't ready for a sale?  That's the question that should be asked.

Starting November 15, the Seasonal Sale starts.  It runs through November 18.  Here is the breakdown of the sale:

  • 10% off all punches
  • 15% of all stamps (Host stamp sets are not included in this sale)
  • 20% off all dies
  • 20% off all embossing folders
  • 20% off all non-specialty Designer Series Paper

The sale items are from the Annual Catalog Only.  As usual, the sale is only while supplies are available.  With all the die-hard Stampin' Up! fans out there, I wouldn't wait if you really need an item.

You can view the complete list and prices here:  Seasonal Sale.  Time to get your Wish List updated!

Until next time...Stampin' Always,

Cheryl, HomeStyle Stamper