
Multi-layered card with Pear Pizzazz
Who's ready for the new Annual Catalog?
I am!!! The other day, I received my pre-order and inside was some new color card stock, ink pads and blends! Looking at the catalog or online never do the colors justice. In person, they look amazing! I'm hoping the next day or two, I can actually use some of the ink pads.
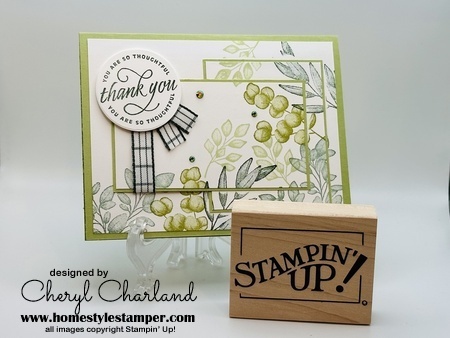
This was a Pinterest inspired card. There are so many retiring items packed in this card. They are Forever Fern stamp set, Flowering Tulips stamp set, Pear Pizzazz, Soft Succulent, Evening Evergreen and Beautiful Shapes dies.
I actually LOVE all three retiring green shades. Pear Pizzazz is my go-to green. All the retiring products in this card will be truly missed.
For this card, I layered the Basic White pieces together, but DO NOT ADHERE together yet. First, stamp the fern images over all three layers. You will get the un-even edges, but once the pieces are matted with the Pear Pizzazz, you don't see them too much. You see an image going over multiple layers.
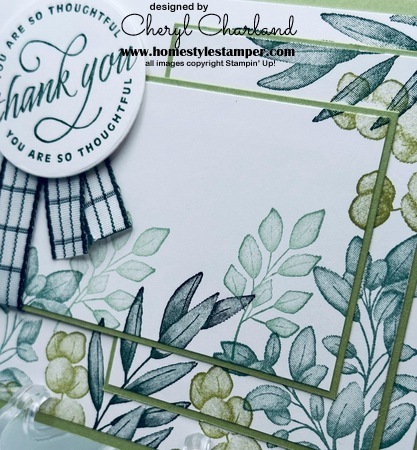
For the ribbon, it's actually in two different pieces. First, wrap the ribbon around the Basic White/Pear Pizzazz piece. Adhere with a glue dot on the back. Next, take another piece about 2 1/2 pieces in length, fold in half and adhere to the card. The sentiment is adhered with dimensionals, so it covers the folded end and looks like a metal. Perfect cover-up.
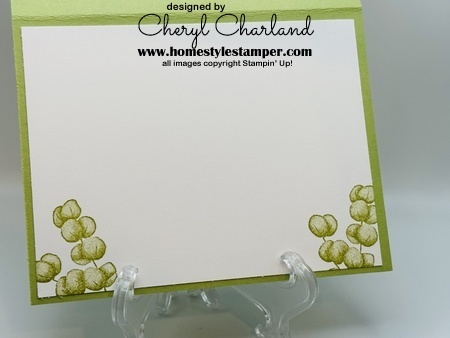
For the inside, take your favorite image and color. Stamp some images around the ends.
Click on the above picture for dimensions and instructions.
Until next time...Stampin' Always,
Cheryl, HomeStyle Stamper
Product List
")
")


 Windowpane Check Ribbon")


")
 Designer Series Paper")


")


")


")
 Designer Series Paper")


 Frayed Ribbon")


")


